
Mayflies are almost irresistable for trout. And that applies not only to the flying insect, but also to the larvae or nymphs, which are some of the biggest insect larvae in our waters. And because mayfly nymphs offer quite some proteins in return, even big trout will chase them willingly! So better have a good imitation in your box!
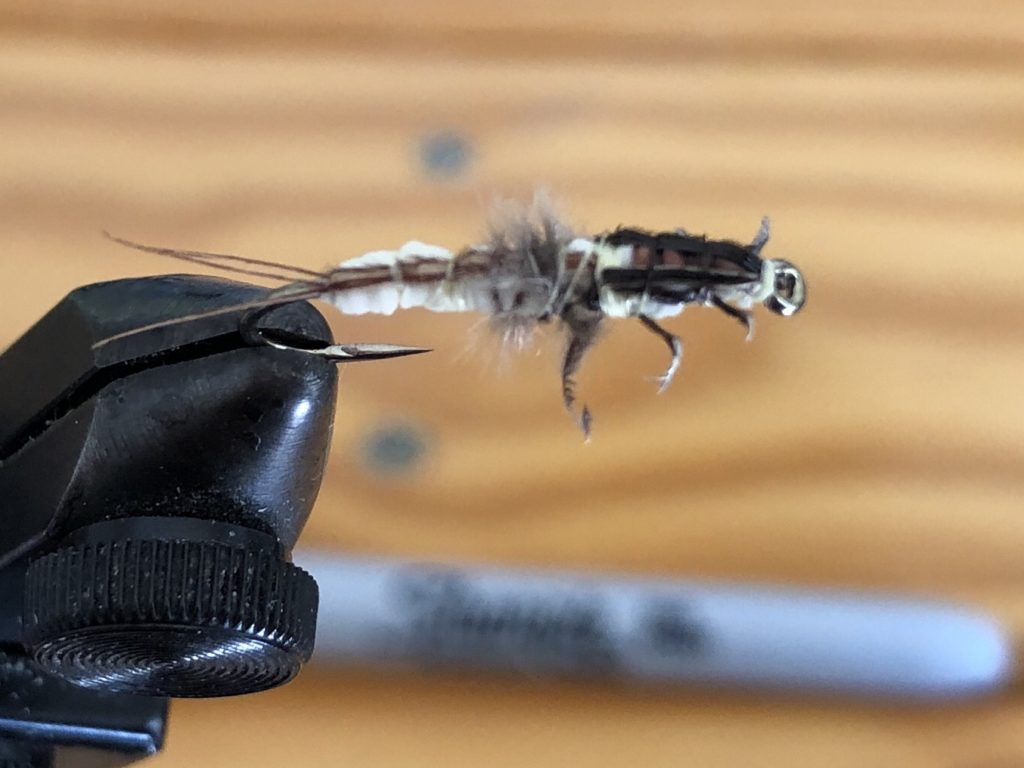
On the internet I stumbled upon a pattern by Clive David Pickering, who is a fly fisher from the UK, the praised land of chalk streams! This pattern immediatly raised my interest, because it uses only few materials but looks extremely organic, just the right amount of fuzziness and realism to be a killer fly! Clive was so kind to take pictures of every step in the tying process and allow me to publish them here on this blog.
So here it is! The pattern does not look very difficult, but the legs are a bit tricky, so take your time! Clive advised me to trimm the legs a bit so that the curly ends will not grab the thread so easily. My own version looks a slightly bit different because I use a different hook, but the trout don’t seem to care – a superb pattern in any case!
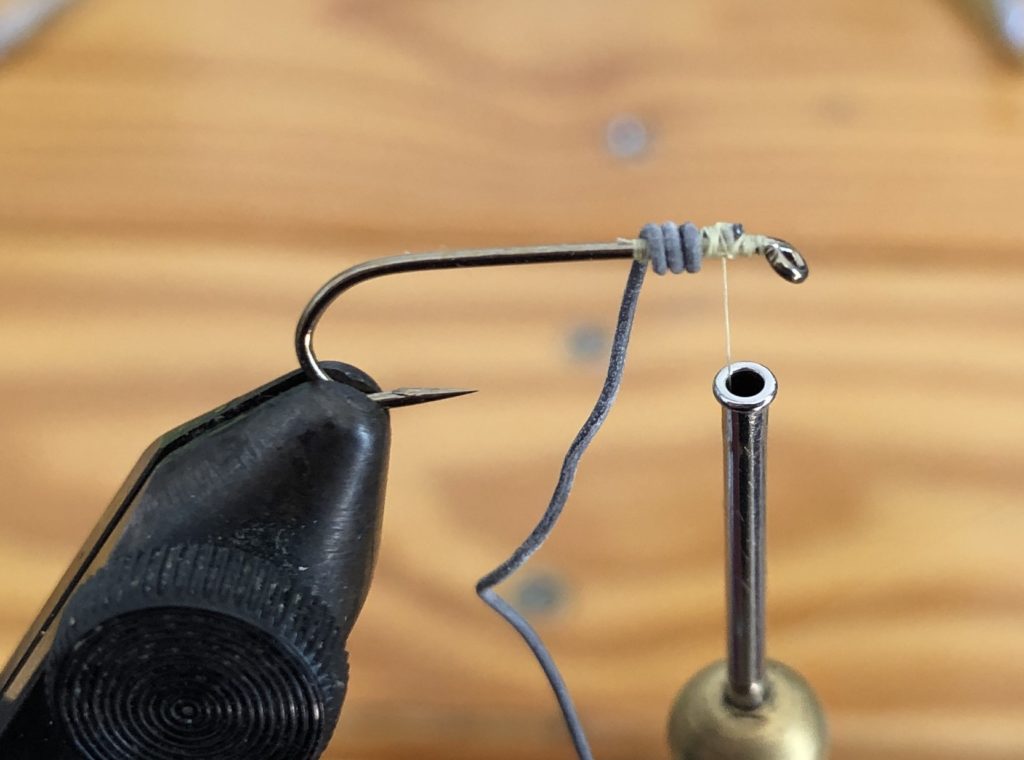
- hook: Kamasan B830 size 10 oder a similar long shank hook (I use a Maruto C40 size 12)
- thread: Uni 8/0 tan or light cahill
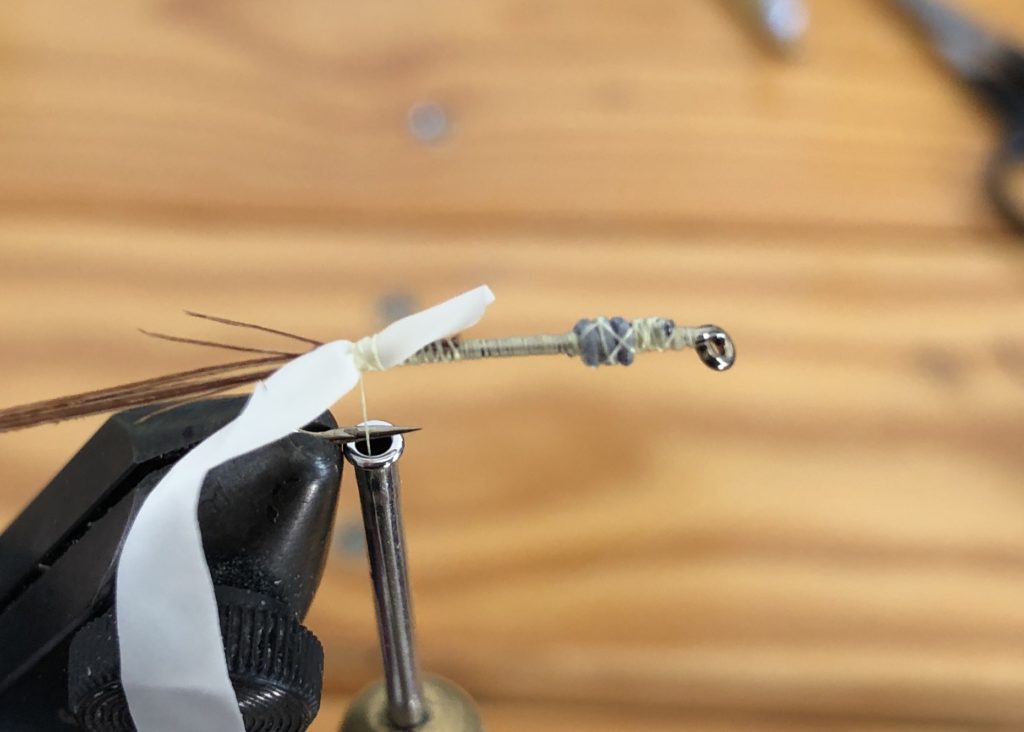
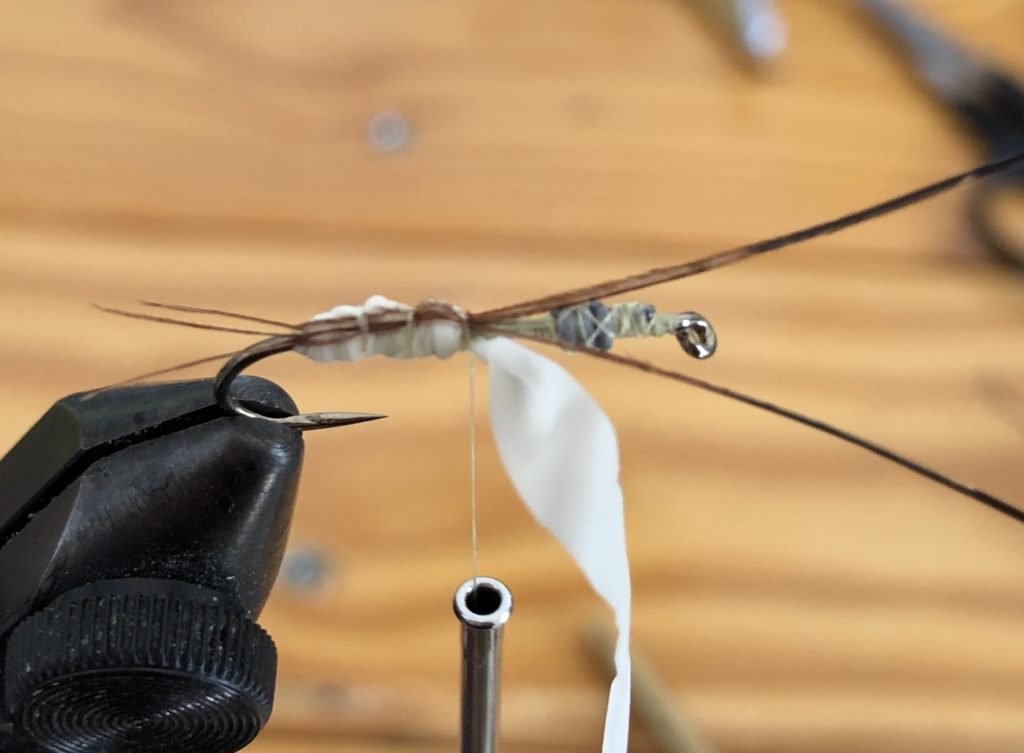
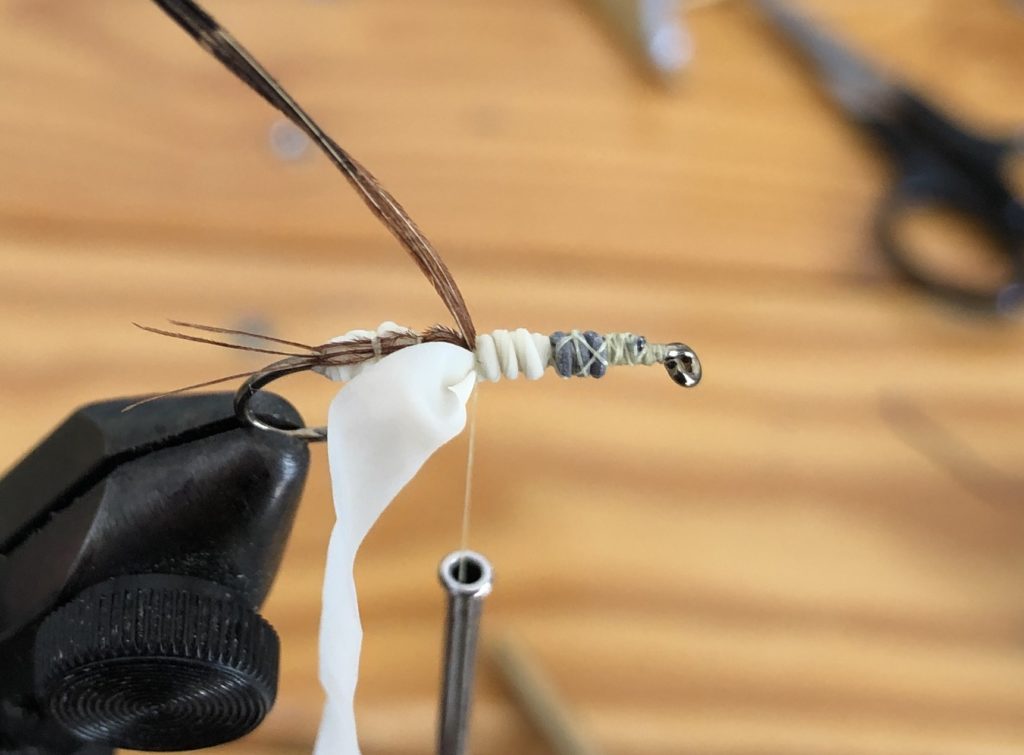
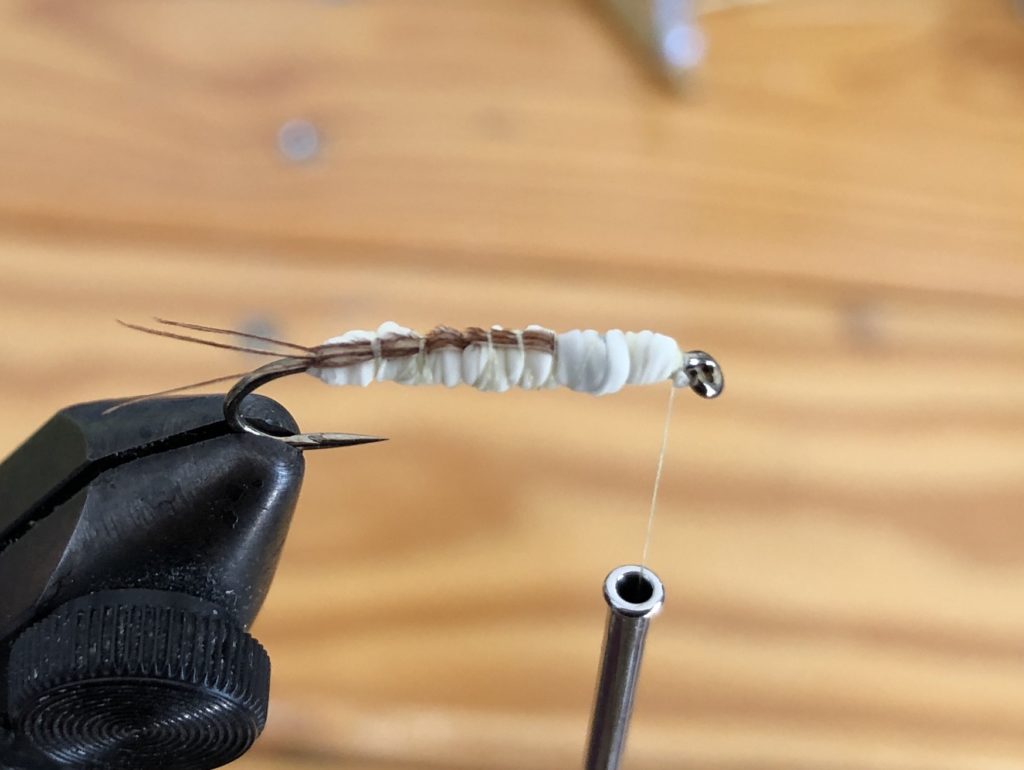
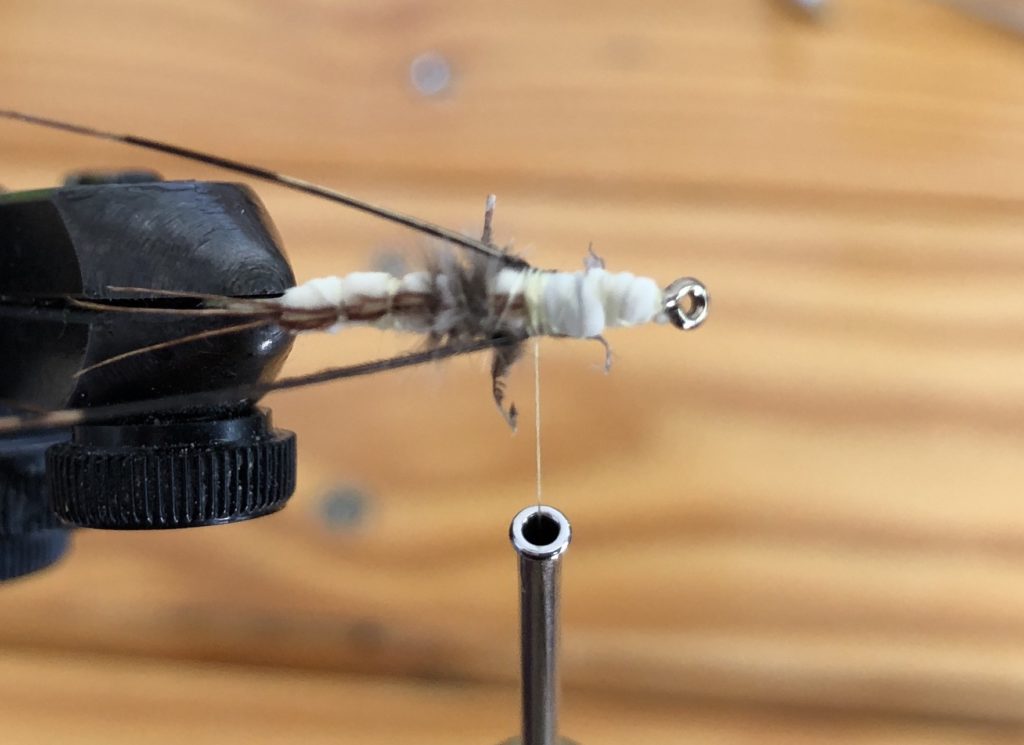
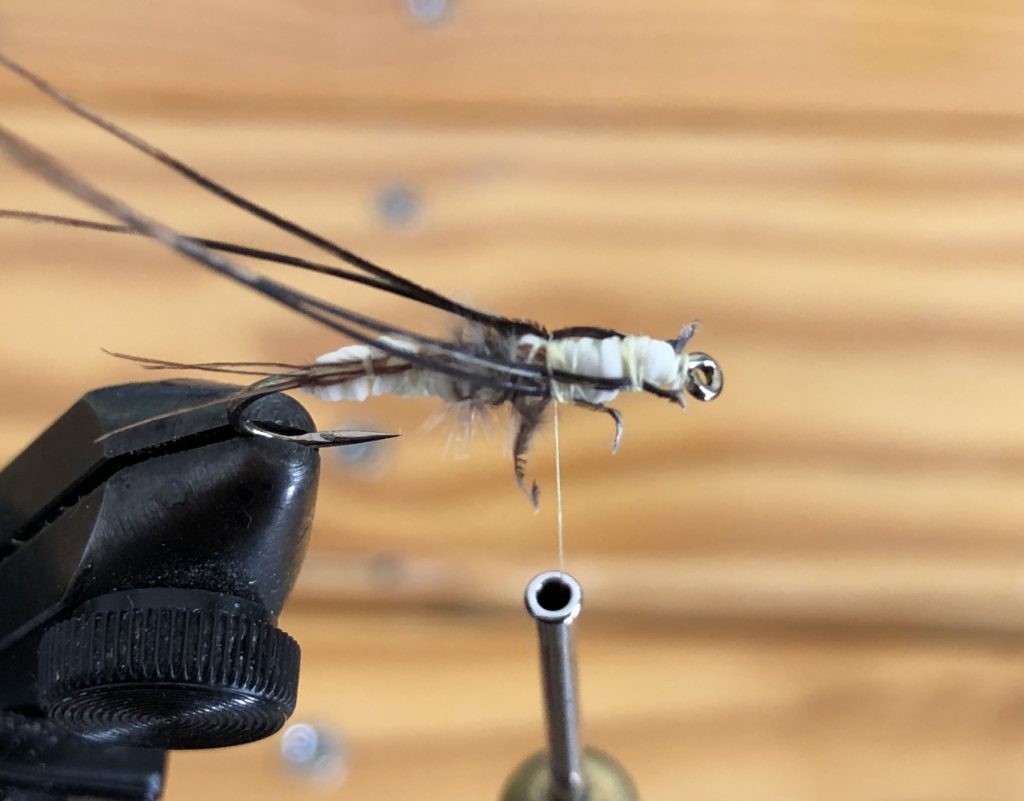
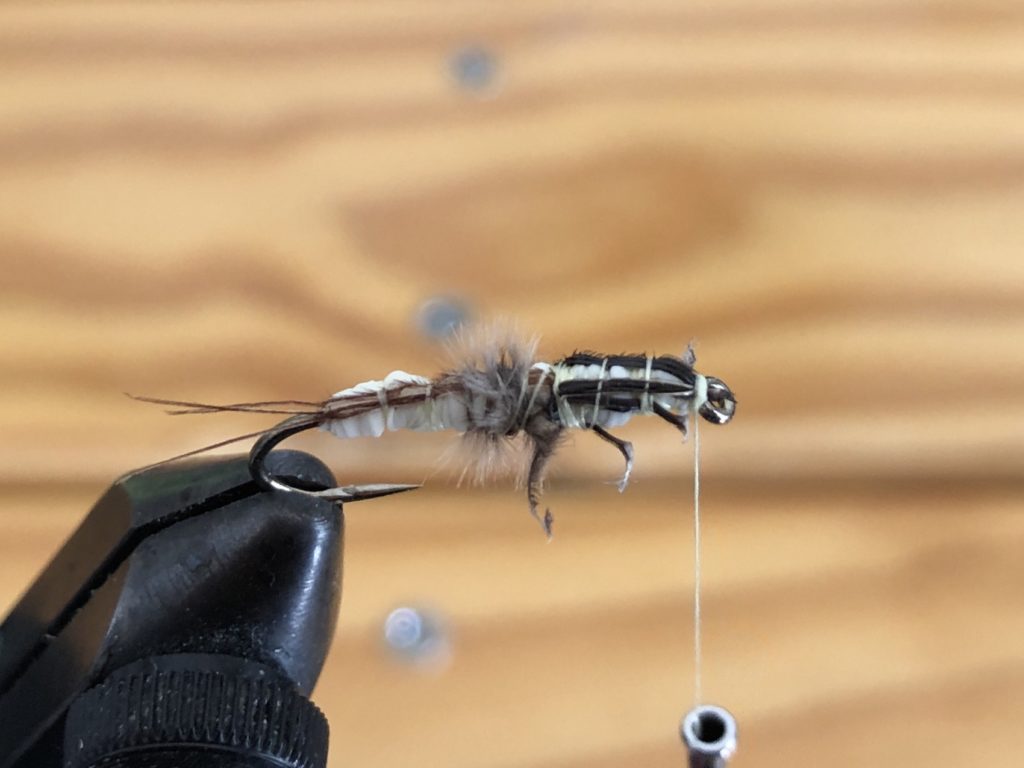
- abdomen and body: latex strip from an old glove
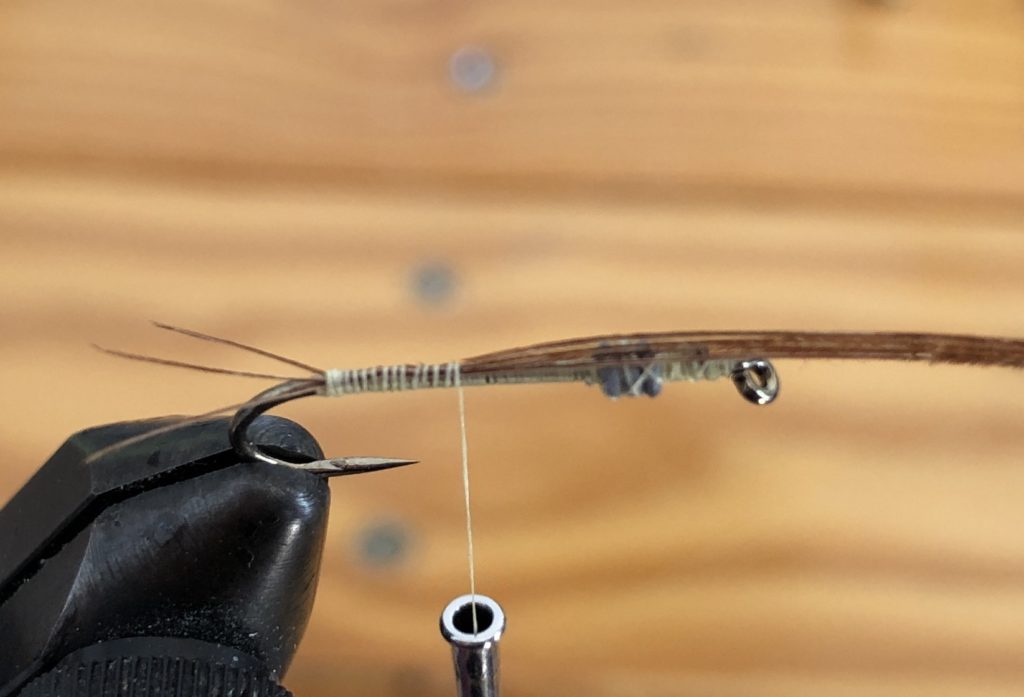
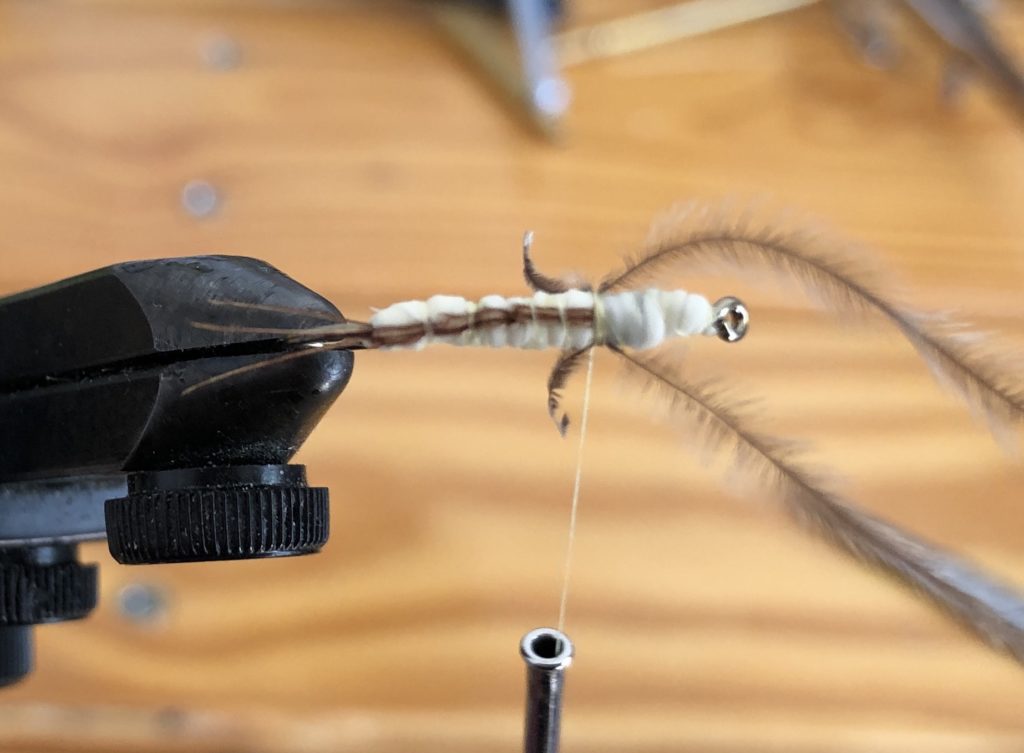
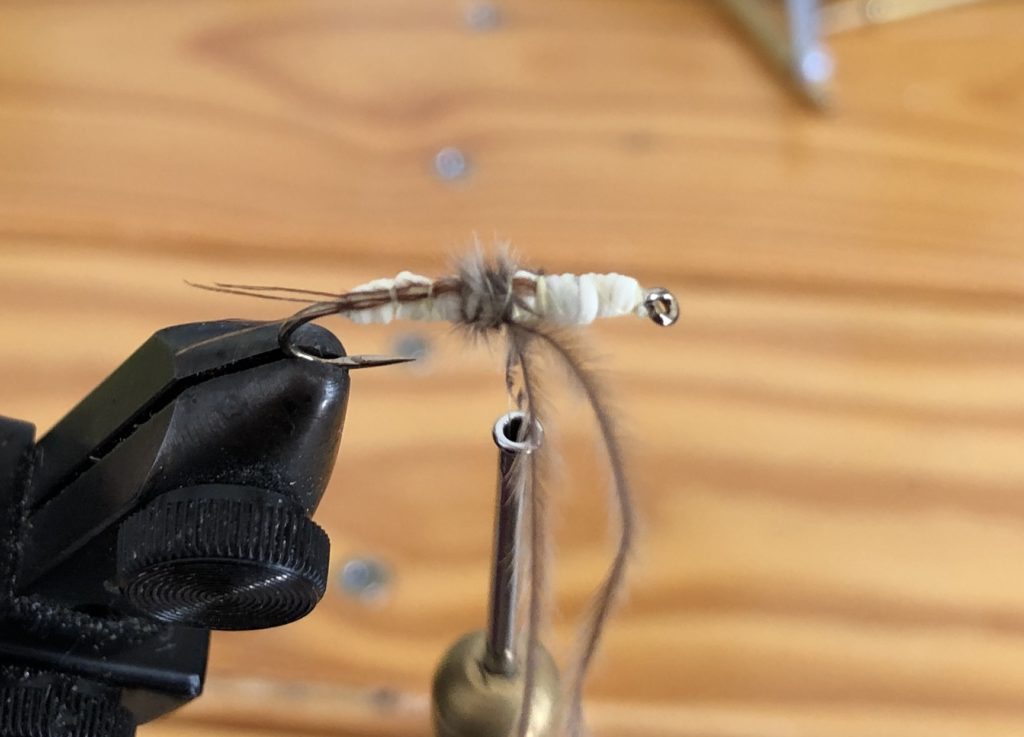
- tail and legs: pheasant tail
- hind legs and trachea: ostrich herl
- lead wire for weight and marker for coloring
Photos by Clive David Pickering: